Requirement for this how-to
- Your free@home system is linked to Openhab 3.x or comparable middleware
- Nodered or comparable engine
- System Access Point 2.0
- Netatmo or comparable sensors
- Local API in the free@home next App
- 7" Panel (optional)
special credits for preparation work: bos1982 (see here)
1.) -> Creating virtual devices (short; extended see here)
- Go to <IP of your System Access Point> / swagger in your browser
- Click on Authorize and enter the access data ("Settings -> Local API")
- Click on "Create virtual device", press "Try out" and change "serialnumber" and Displayname (freely), ttl -> -1; the following devices can be created:
Humidity: AirQualityHumidity
CO2: AirQualityCO2
Temp: you have to use "RTC" (and not "AirQualityTemperature"!) - this is the only work around, which was possible (for me).
2.) -> Include all devices in free@home
Go to your Free@home App and search for the new devices. Note, that Humidity and CO2 ressort to "Airquality Sensors" and temperature will go to "room temperature controller".
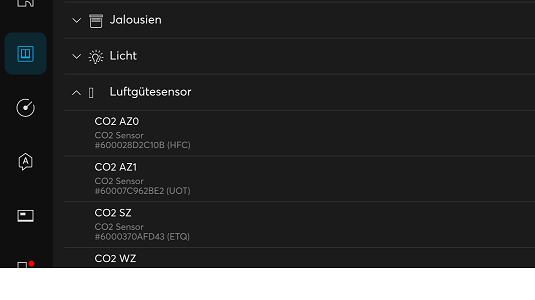
Place the devices to the corresponding rooms, as usual - AND write down the shown serial-numbers starting with "#6000..." (see picture above) ! later on, you will find all devices like this:
3.) -> get sensor values via Openhab or comparable
Because we want to write all sensor values to the corresponding datapoints via free@home API, it is essential to gather them through some middleware-engine like openhab. If you use netatmo-sensors, you can use the netatmo binding in openhab, like I did. my room temperature values are collected via philips hue, netatmo, modbus and others.
4.) -> write sensor values to F@H-API via nodered or comparable
All virtual devices have specific (output) datapoints, where all values are stored, which are shown in the user-interface resp app. The following are:
Humidity: AirQualityHumidity -> channel = 0000 / odp = 0000
CO2: AirQualityCO2 -> channel = 0000 / odp = 0000
Temp: a) sensor value -> channel = 0000 / odp = 0010 b) setpoint (for showing in the panel, work around No2) -> channel = 0000 / odp = 0006
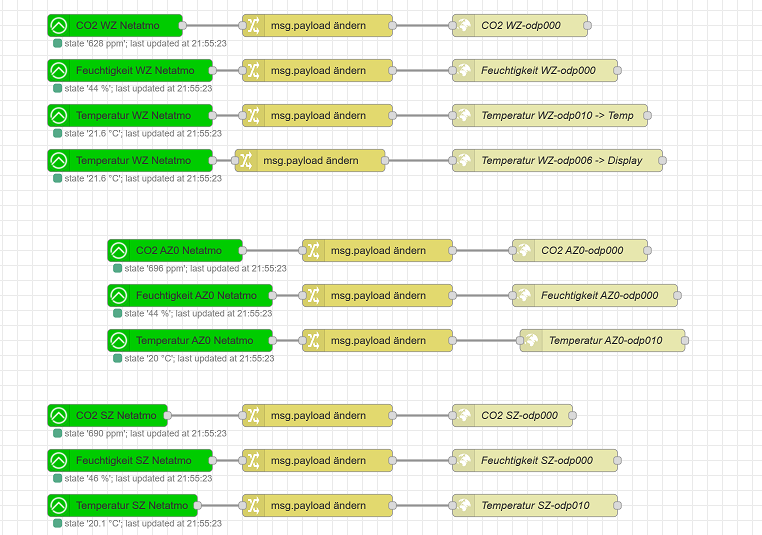
Now you have to write the values with nodered (I use: version3.0.2) to the specific points, like this:
On the left side the values are coming form openhab (note: eliminate °C / ppm / % !) - on the left side we write them to f@h like this:
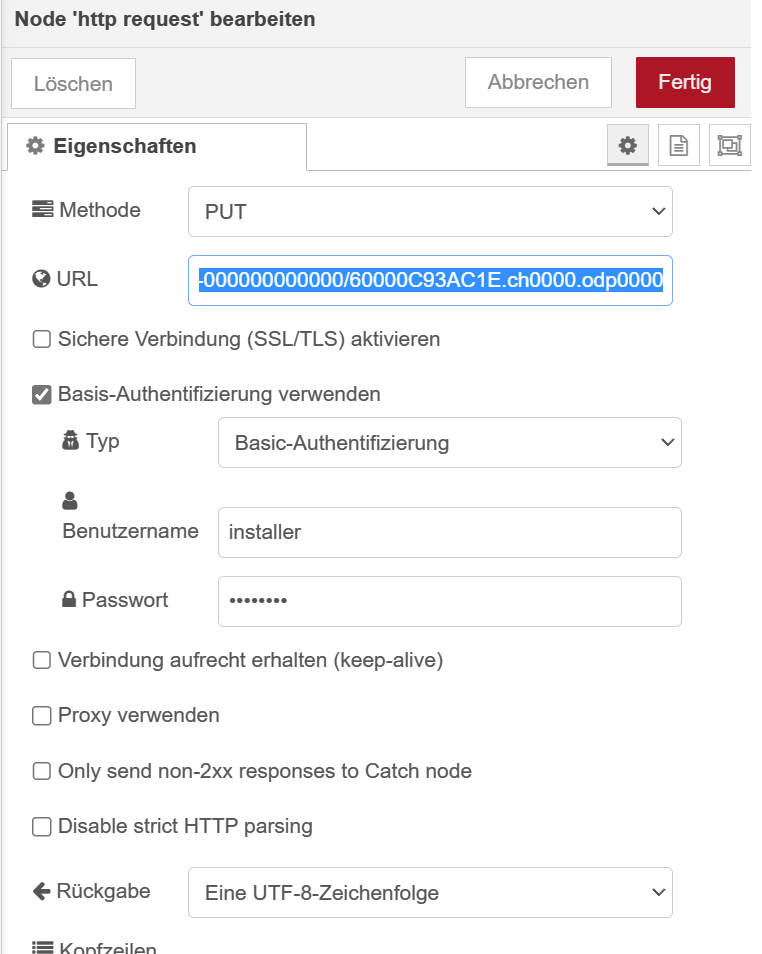
Example URL to PUT: htt..://[YOUR IP]/fhapi/v1/api/rest/datapoint/00000000-0000-0000-0000-000000000000/6000[YOUR DEVICE].ch0000.odp0000
- For temperature you have to note:
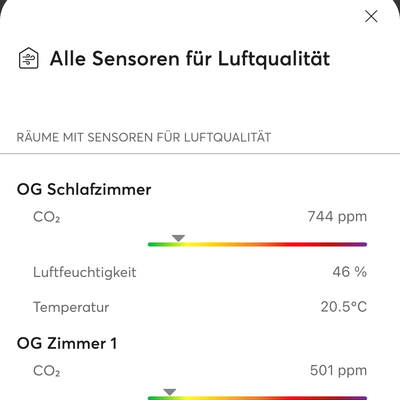
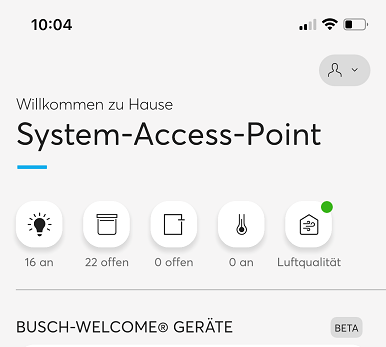
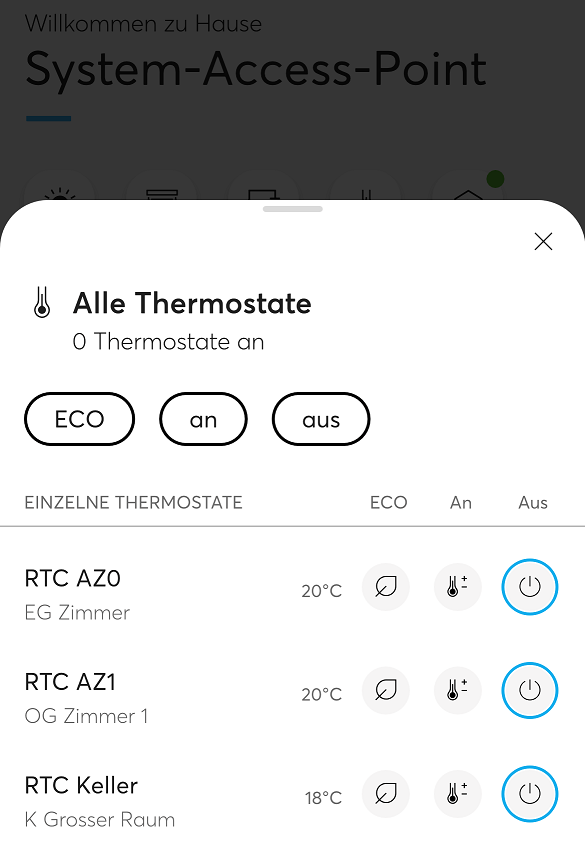
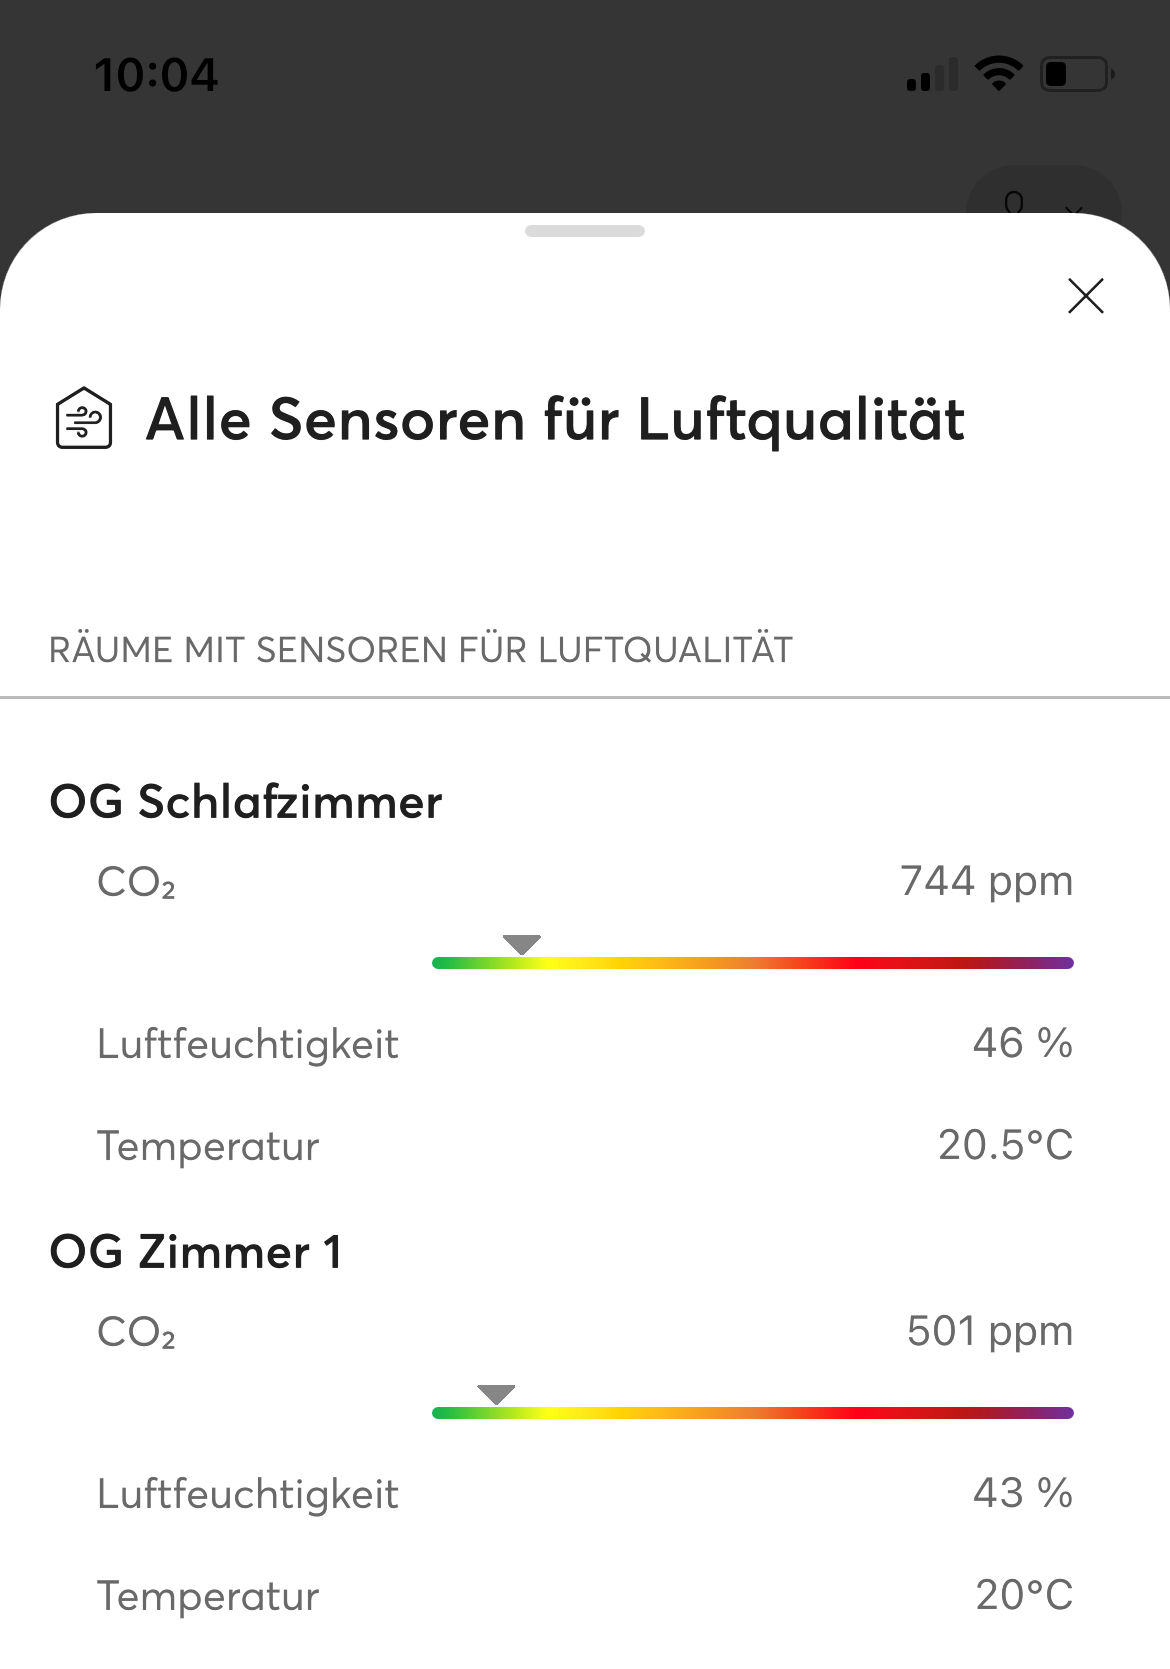
It was not possible for me, to use the Device "AirQualityTemperature" - so the solution was to use a "RTC". Like above you write down the serial and the odp and pass through the values via nodered. but if everything works fine, you shold see finally this:
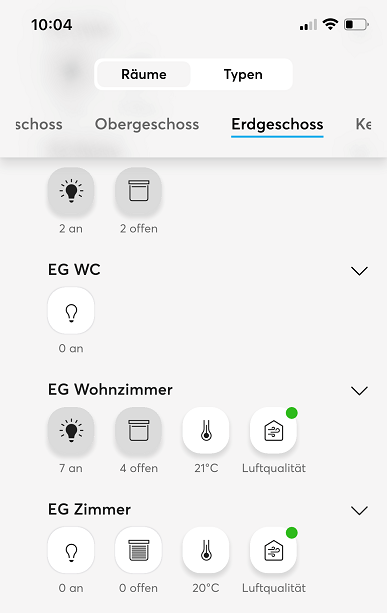
Resp this:
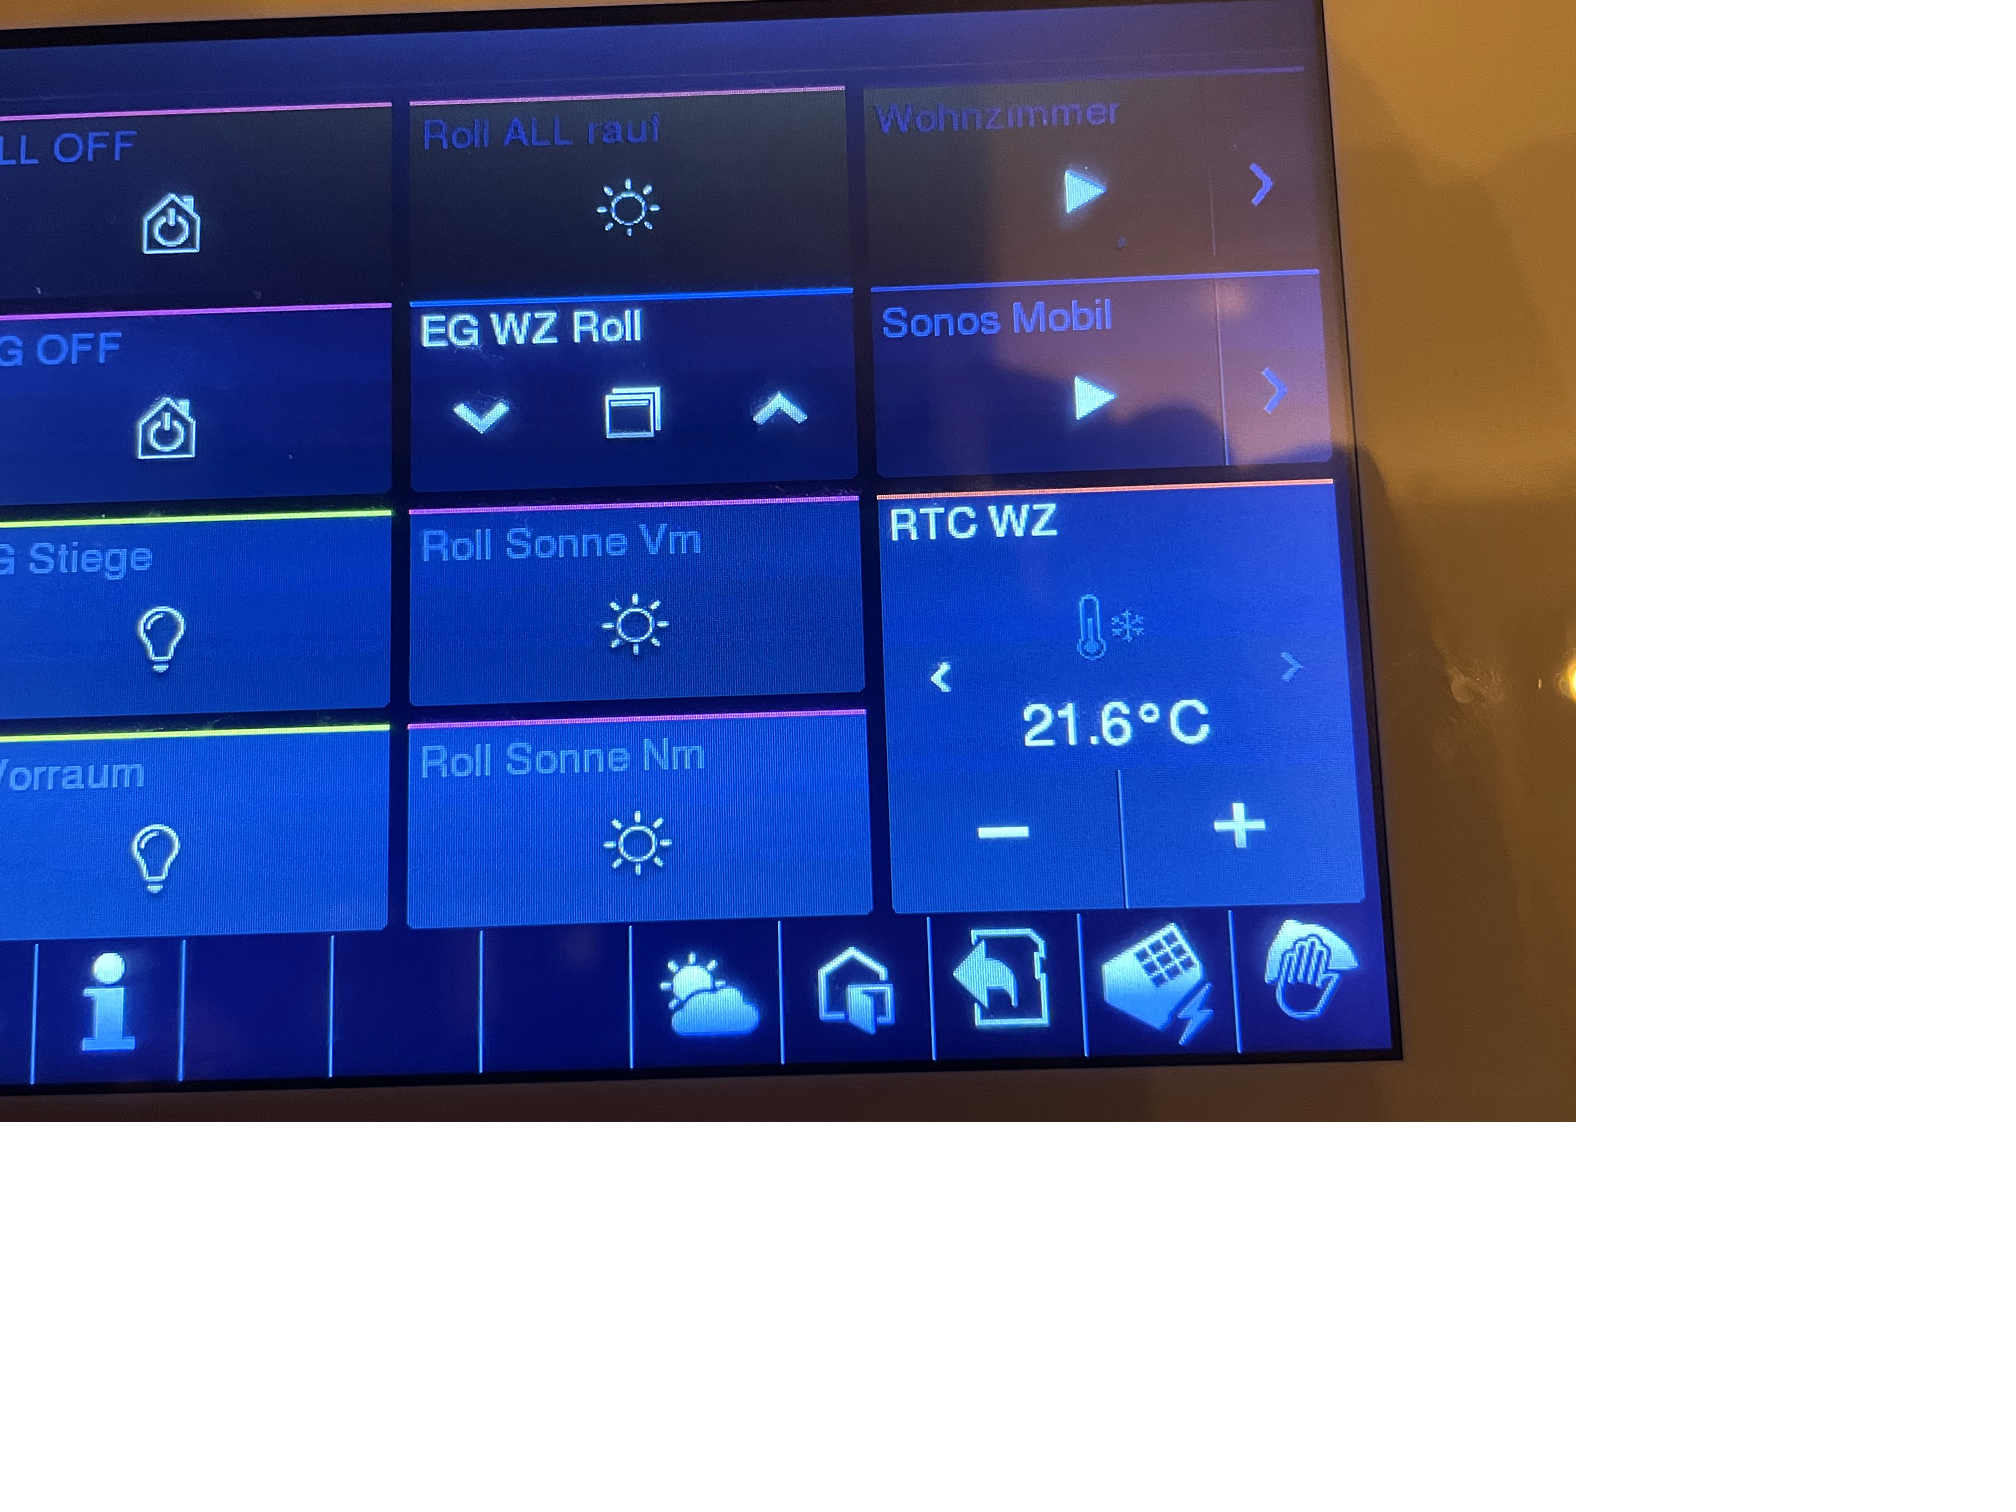
- Special work around is possible if you want to see the temperature on your (older) panel.
You can abuse the setpoint values to show the actual room temperature! therefore write the room temperature not only to the room-temperature datapoint (odp = 0010) but also to the setpoint (odp = 0006, see above). this is only viable, if you don´t have working RTC, but that´s clear... You could have this (the shown temp 21,6 is the actual temp):
- Some of you will have problems to get the RTC - virtual devices working.
there is only one solution, which helped me here: Export a backup file and edit it with a text-editor (but this is no recommendation ... it worked for me, see here): Find the RTC entries and add [virtualDeviceEmulation="RTC"] at the end like this: <device zombie="false" serialNumber="6000[YOUR NUMBER]" virtualDeviceType="RTC" nativeId="[YOUR NUMBER]" virtualDeviceTTL="-1" virtualDeviceLastRegistered="1673122738" interface="vdev:installer@busch-jaeger.de" virtualDeviceFlavor="0" virtualDeviceEmulation="RTC"/>
Have fun and hopefully everything works fine for all of you!




Wähle ein Bild
Bildformate: image/gif, image/jpeg, image/jpg, image/png
Max. Dateigröße: 10 MB
URL Informationen hinzufügen
Hier kannst du URL Informationen hinzufügen
So wird es aussehen